Sitecore Personalization is one of the great feature that we have OOTB in Sitecore. Personalization enables you to deliver targeted, relevant content to your site visitors. Personalization is the method for displaying targeted, relevant content to your contacts based on their characteristics and behavior, such as location, gender, or previous visits.
There are a number of rules and parameters that are currently available in the Rule Set Editor for Sitecore Device Detection. We can use these to further customize your Sitecore sites and optimize the presentation of your website on different devices for your visitors.
In this post, I would like to show how we can extend and build custom personalization rules based on Source/Previous page, we will take an example of creating a custom rule where based on source/previous page item value how we can display different content to our site visitors.
Step 1:
In our case as we are creating custom rule, so will be planning to use existing custom tag which is available on below path.
==> /sitecore/system/Settings/Rules/Definitions/Tags/Custom
Either we can create a new tag for our Custom rule under
==> /sitecore/system/Settings/Rules/Definitions/Tags/Custom Rules
based on template ==> /sitecore/templates/System/Rules/Taxonomy/Tag

Step 2:
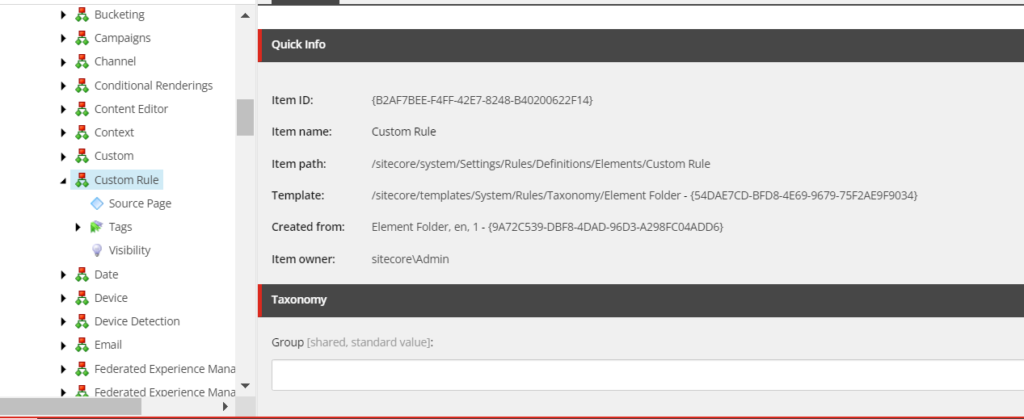
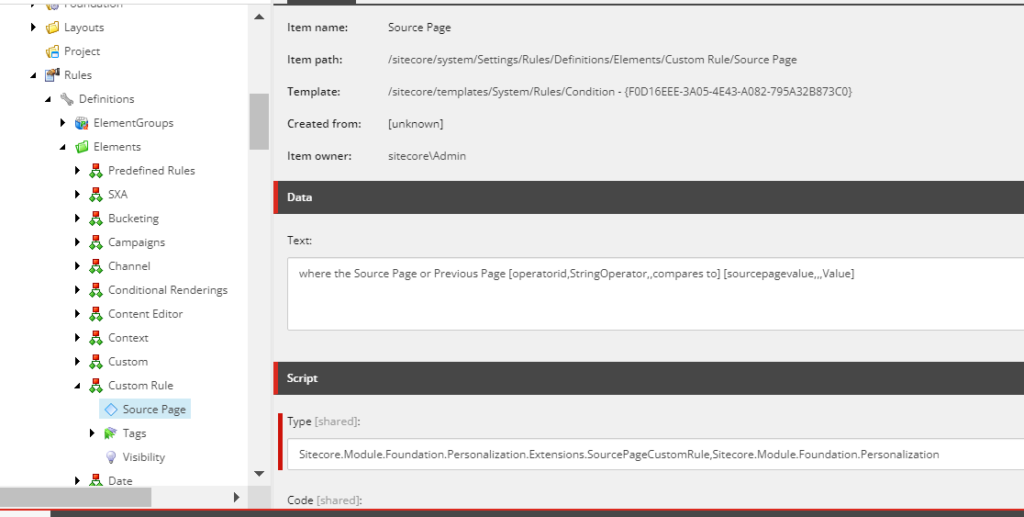
After creating Custom Rule Tag, will have to create Custom Rule Element using Taxonomy Element using below template /sitecore/system/Settings/Rules/Taxonomy/Element Folder” and inside the Custom Rule we can create Custom Rule considtion i.e. “Source Page” in our case using below template
/sitecore/system/Settings/Rules/Condition

In Content section of newly created “Source Page” custom rule, we can get two important fields i.e. “Text” inside the Data section and “Type” inside the Script section.

Text – We have to update the text that would be presented to content editors when using this condition with Rules Engine. Square brackets [] will be replacing by Rules Enging as selectors.
Type – Type will use fully qualified class and assembly names of the custom personalization condition
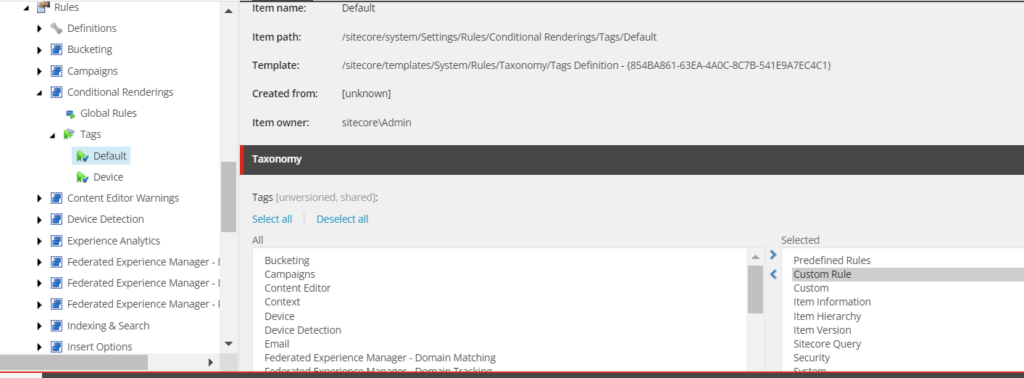
Once will update the personalization rule on Text and fully qualified class and assembly names on Type. We have to add the “Custom Rule” tag which we have created in Step 1 on Tags on the same level on Tags Element of Custom Rule.


Step 3:
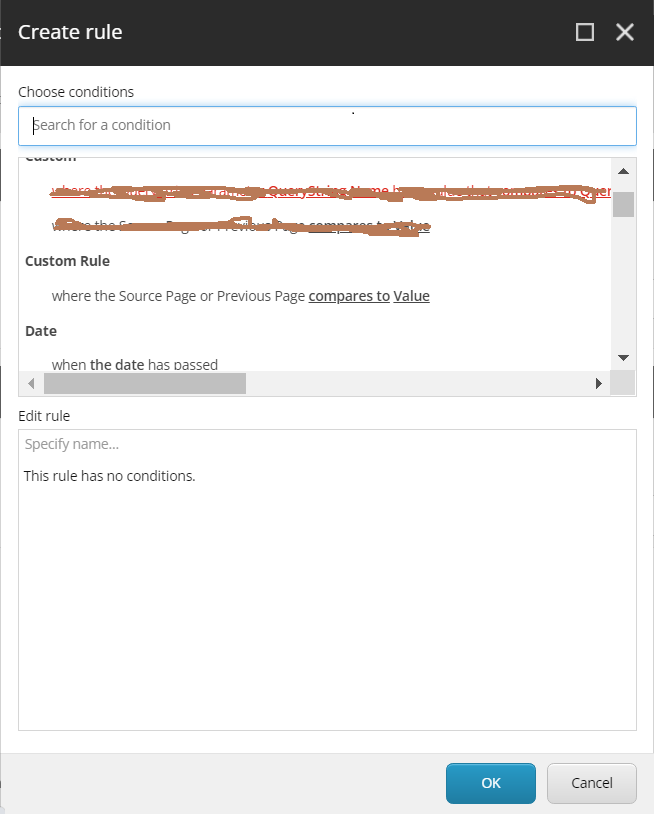
As we have created the personalize rule and need to add this tag on conditional rendering so that this newly added personalized rule will be available on rule editor for content editors to personalize the components.

Once above mentioned changes are completed, content author will able to configure this rule to personalize the components from experience editor or content editor from presentation->Personalize section.

